Email Senders

To can send outgoing emails from your domain using Solidarity Tech, you must first connect your Email Domain and successfully verify it.

Once verified you can add any sender from the verified Email Domain. It's remains your responsibility to ensure that you can receive incoming emails at all added Email Senders, for example by using Google Workspace or another email domain provider, for email addresses on your domain.

Verifying Email Domains

You must verify that you own your domain before you can add Email Senders from it. In order to do that, you will have to login to your domain provider’s website (e.g. Namecheap, GoDaddy, Google Domains, etc.), and find the DNS settings or domain management area.

Once you've added the domain you wish to verify from the Email Domains section of the Settings tab, you will be taken to the page which shows the DNS records you will need to copy into your domain's DNS settings. Here, you will be shown 5 records - 3 CNAME records, 1 TXT record, and 1 MX record - that you must add to your domain DNS records in order to verify your Email Domain. You should ad all 5 records to ensure high deliverability of your emails. It will look something like this:

Each DNS record entry has a Type (CNAME, MX, etc.), a Name, and a Value. These must be input into your domain records 100% correctly in order for the Email Domain to be verified. If you have issues with this, reach out to [email protected] or contact us via the chat widget in the dashboard.

The process to access your domain DNS records and update them will vary, depending on your domain provider. The following are details for how to access the records for three popular domain providers: GoDaddy, BlueHost, NameCheap.

Once you have updated your DNS records, return the Solidarity Tech dashboard and click the "Verify Domain" button on the page for your added Email Domain:

Sometimes, it may take several hours for the records you've updated to propagate across the internet. Usually, it only takes a few minutes. Try clicking the Verify Domain button to retry the verification process as often as necessary.

Adding Email Senders

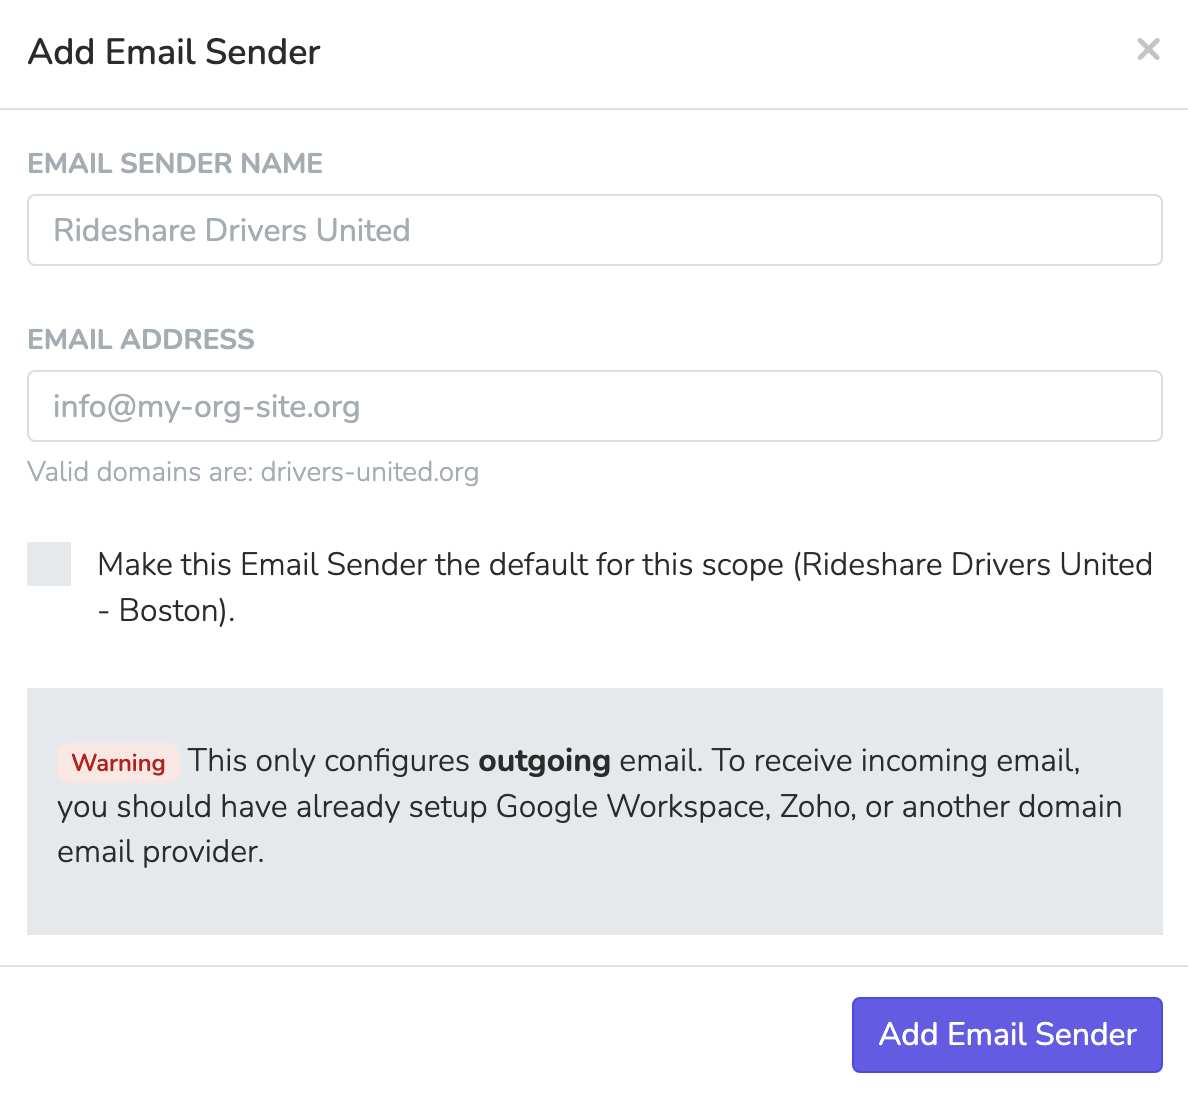
Once you've successfully verified your Email Domain, you can now add Email Senders to deliver emails from your domain. Go to the Email Senders section under the Settings sidebar tab to add a new sender.

You will be able to add a sender from your newly verified domain. A sender consists of a display name and the actual email address. You can make the email the default Email Sender for your currently logged in Scope by clicking the checkbox before creating the new Email Sender. If you make the a sender a default for a Scope, all resources with emails created from that Scope (Email Blasts, Event Pages with email confirmations, etc.) will default to using your new Email Sender.